
Internet users these days have very little patience and a short attention span. Let visitors of your store's blog know how much time they'll need to invest into reading your articles with this handy Liquid code snippet.
Every Shopify store comes with a blogging feature that you can use to publish useful and relevant content to attract readers and (hopefully) customers to your store. But, compared to dedicated blog solutions like Wordpress, Shopify's blogging solution is rather simple and doesn't offer a lot of bells and whisltes.
Fortunately, you can add features to your blog just like with any other part of your store by customizing your store's theme. So let's use some Liquid code to show a the reading time on every blog post.
The average reading time is said to be around 250 words per minute. Of course this varies by reader, text content, layout, font size, column width and probably many other factors. But the goal here isn't to calculate the exact reading time, it's to make a rough estimate.
Note that the average of 250 words per minute is based on texts written in the Latin alphabet or its descendants. For various Asian alphabets it's estimated at around 500 characters per minute and the average might be different for other alphabets. To keep things simple, we'll stick to the Latin alphabet and base our calculation on 250 words per minute.
First we'll go over how to calculate and display the reading time step by step. If you're eager for how to apply it to your store's theme you can jump ahead to Putting it all together.
Counting the words
The first thing we need to know is how many words the given article contains. We want the raw word count of the article content minus formatting, images, etc.
For this we first strip the HTML from the article content:
Now that we have the article's raw text content, we'll split it into its individual words. Words are separated by spaces, so we split the article content by the space character.
The result of Liquid's split filter is an array. To get the size of the array – i. e. the number of words it contains – we apply the size filter to the array.
Calculating the reading time
Now that we have the number of words in our article, we'll divide that by the average word count of 250. Because the result of this calculation can be a decimal number, we'll first have to turn the array size (which is an integer value) into a decimal number. This is done in Liquid by multiplying the size by 1.0.
The result of this division might be something like 1.56, 3.44 or 5.2. For clarity, we want to display the reading time in full minutes. So we'll want to round the result up or down to the nearest full minute.
The Liquid filters for rounding up and down are ceil and floor, respectively. If you want to round up or down automatically (below .5 rounds down, .5 and above rounds up) you would use the round filter. Adjust the code according to your preference.
Locale strings
We want to display the reading time not just as a raw number but as "1 minute" or "3 minutes". You could use a Liquid if statement to determine whether to display the singular "minute" or the plural "minutes", but there's a more elegant way.
Liquid supports separate translation strings for singular and plural forms. That way we can add both strings to our locale files and let Liquid decide which one to use. See the next section for the code snippet.
Putting it all together
Now lets put everything we've learned together and apply the necessary changes to our theme.
This tutorial assumes you're using one of the Dawn, Craft, Crave or Sense themes. The code will work on any theme, but if you're not using one of these themes you'll just have to figure out where to add the code in the theme you're using.
Locale strings
Go to the Theme Code Editor and open the file Locales/en.default.json. Around line 80 you should find the locale strings for blog articles.
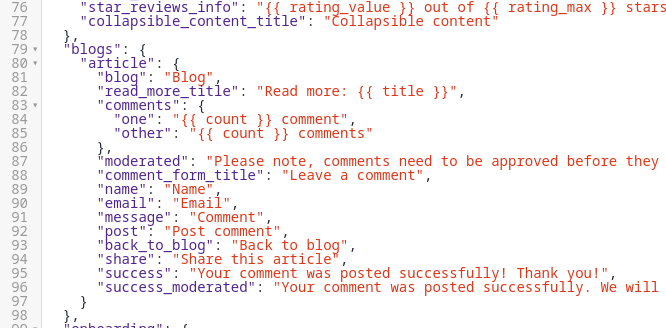
Now copy the following code and paste it right below the line "article": {.
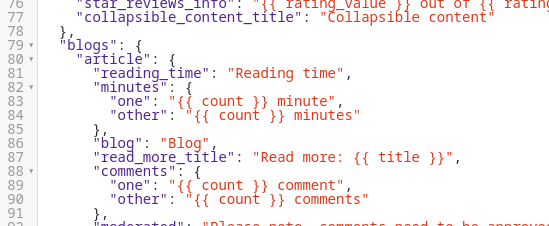
The final code should look like this:
Make the same changes to any other locale files for the languages you are using on your store and adjust the translation strings accordingly.
Article template
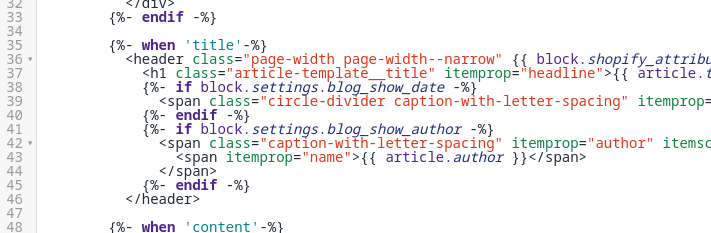
Now open the file Sections/main-article.liquid. Around line 35 you'll find a code block for rendering the article title that looks like this:
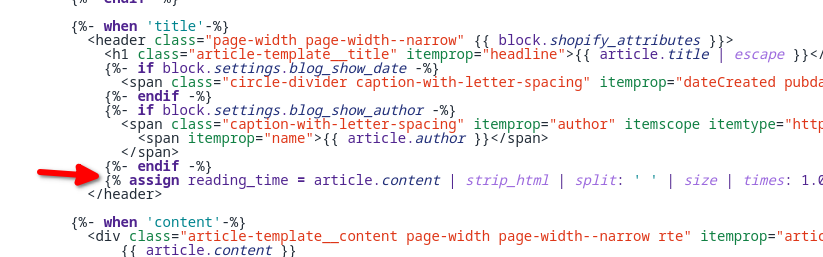
Copy the following code and paste it between the {%- endif -%} and </header> tags so the final result looks like the image below.
Final result:
Now save the file and check out an article on your storefront's blog. The reading time should be displayed below the article title.
Have any questions? Found a bug in this tutorial's code? Leave a comment below!
1 comment
this worked but now this same reading time I want to add where all blog posts are shown. the blog page is not in the article. so how to do that?